Store Options
If you have items in your inventory you wish to sell, Inventory Express can create a personal "Online Store" page for those items -- with prices, descriptions, PayPal buttons and sales terms. To see a sample "Online Store" visit: https://inventoryexpress.xyz/cgi-bin/IESTORE.dbw?UID=100002.
An Inventory Express personal "Online Store" can be enabled if you have subscribed to On-line Collection Hosting with Web Features Enabled. If enabled, store information, and items for sale will be uploaded when you click the "Upload to Web" button -- and your personal store web page will be automatically created.
Your personal Online Store can be accessed at this URL:
https://inventoryexpress.xyz/users/[IE ID Number]/store.html
[IE ID Number] is the IE ID Number from the Options Screen registration information. (Do not include the square brackets, only the number.)
If you have "Store Features Enabled" (see below), every time you "Upload to Web," this Personal Online Store page is generated and uploaded, so it can be indexed by search 'bots' from Google, Bing, etc.
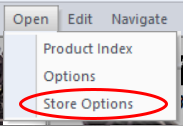
To bring up the Store Options page:
- Click on "Store Options" in the Open Menu;
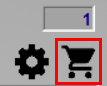
- Or click on the "Store Options" Shopping Cart Button on the main screen;
Store Options:
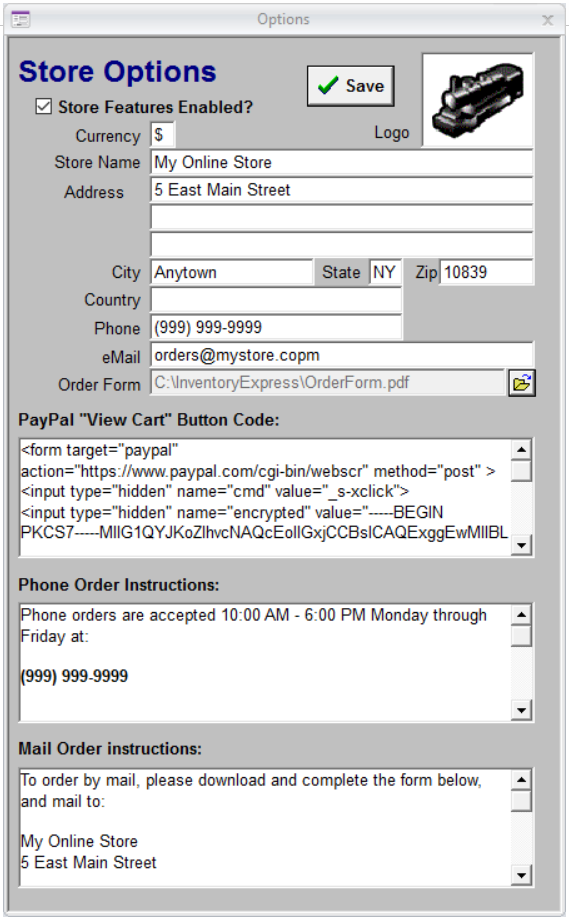
- Store Features Enabled (Required): If you have subscribed to Online Collection Hosting, this button will be enabled. Select this box to enable the personal online store. Leave the checkbox unchecked if you don't plan to sell any inventory items online.
- Logo (Optional): You can drag-and-drop a logo image into this box, which will then appear on your online store page. Accepted formats are .GIF, .JPG and .PNG. SVG vector maps are not supported. For best appearance on the web, a GIF or PNG with a transparent background are recommended. When you drag-and-drop an image onto the Logo box, the image will be renamed to "Logol" with the image format and extension (.gif, jpg or .png) maintained.
- Store Name (Required): The Store Name will appear at the top of your Online Store.
- Store Address, Phone and eMail (Optional): If you provide a mailing address, phone number and/or eMail address, they will appear as contact information in the online store. Leave any field blank if you don't wish to have that information included in your online store pages.
- Order Form: Inventory Express provides a standard Order Form for mail or eMail orders. You can substitute your own order form by clicking the small "File Button" to the right of the Order Form field. Order forms must be in a PDF format and will be copied to the Inventory Express directory as "OrderForm.PDF." If you wish to restore the original Inventory Express order form, use the same procedure, and select IEOrderForm.pdf from the Inventory Express root directory.
- PayPal "View Cart" Button Code (Optional): To use this feature, you must have your own PayPal Business or Premiere account. With either, you can create a "View Cart" buttons that will work within your Inventory Express Online Store. A "View Cart" button must be used in conjunction with "Add to Cart" buttons on the "Store Item" page for each item in the store.
Log onto PayPal and select "Tools" to create a button. After clicking "Create Button," copy and paste the HTML snippet into this field.
- Click here for PayPal's instructions for creating "View Cart" and "Add to Cart" buttons.
- Phone/Mail Order Instructions (Optional): If you wish to accept phone or mail orders, provide instructions in either or both fields. These fields have no limits on length. You can type the instructions directly into each field, or if you cut-and-paste formatted text from MS Word (or other programs) into these fields, most formatting (bold, italic, text colors, etc.) will be maintained.